When you need to shop online, chances are you’re heading straight to Walmart, the second biggest online retailer right now (check this out if you want to scrape Amazon). And before zeroing in on your purchase, your selection criteria may vary based on brands, style, features, and your personal preferences. But let’s be real – for most of us, the final decision comes down to the price tag.
The usual shopping ritual goes something like this: you open up the website, search for an item, add in filters to narrow down your choices, and still have to scroll through at least 20 products and take mental notes until one catches your attention. What if you had an easier way to see and filter through all the options available in one go, and be the first to find out when the price changes?
Good news – there is. Using Browse AI, you can scrape the prices of all the products you’re interested in right off the bat, or set up a monitor to track fluctuations in prices over a few days, weeks, or whatever frequency you want. All you need to get started is to sign up for a free account (no credit card required). The best part? You don’t have to write a single line of code.
Ready for the step-by-step guide to monitoring and comparing prices on Walmart? Here you go:
Step 1: Enter the Origin URL
On your Browse AI dashboard, enter the URL you want to scrape. For this blog, we’ll go with the example of monitoring prices of refrigerators on Walmart (got to have the right data especially for those big purchases).
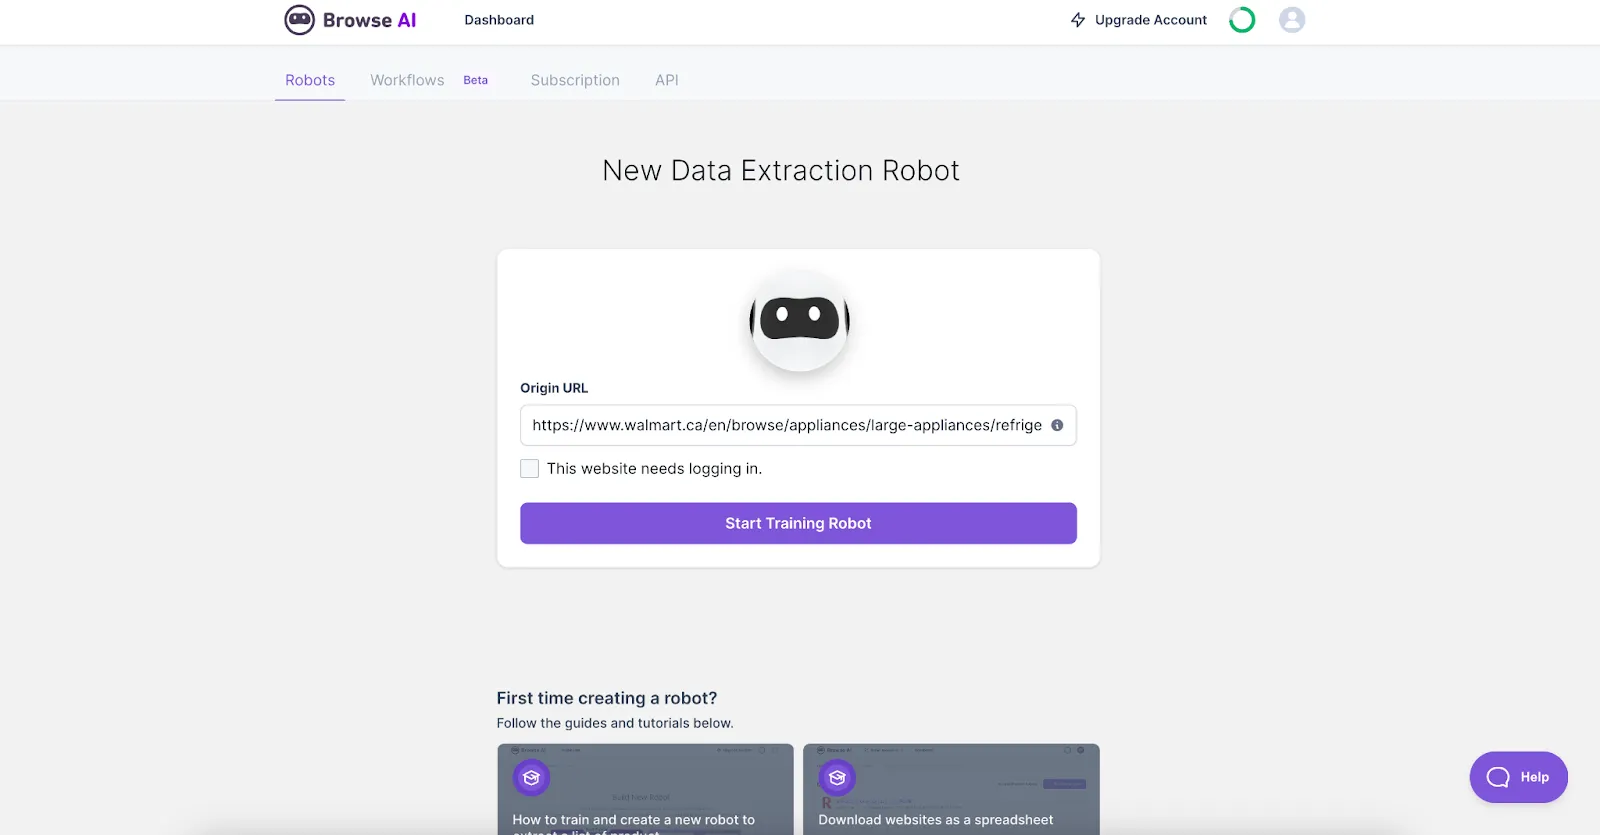
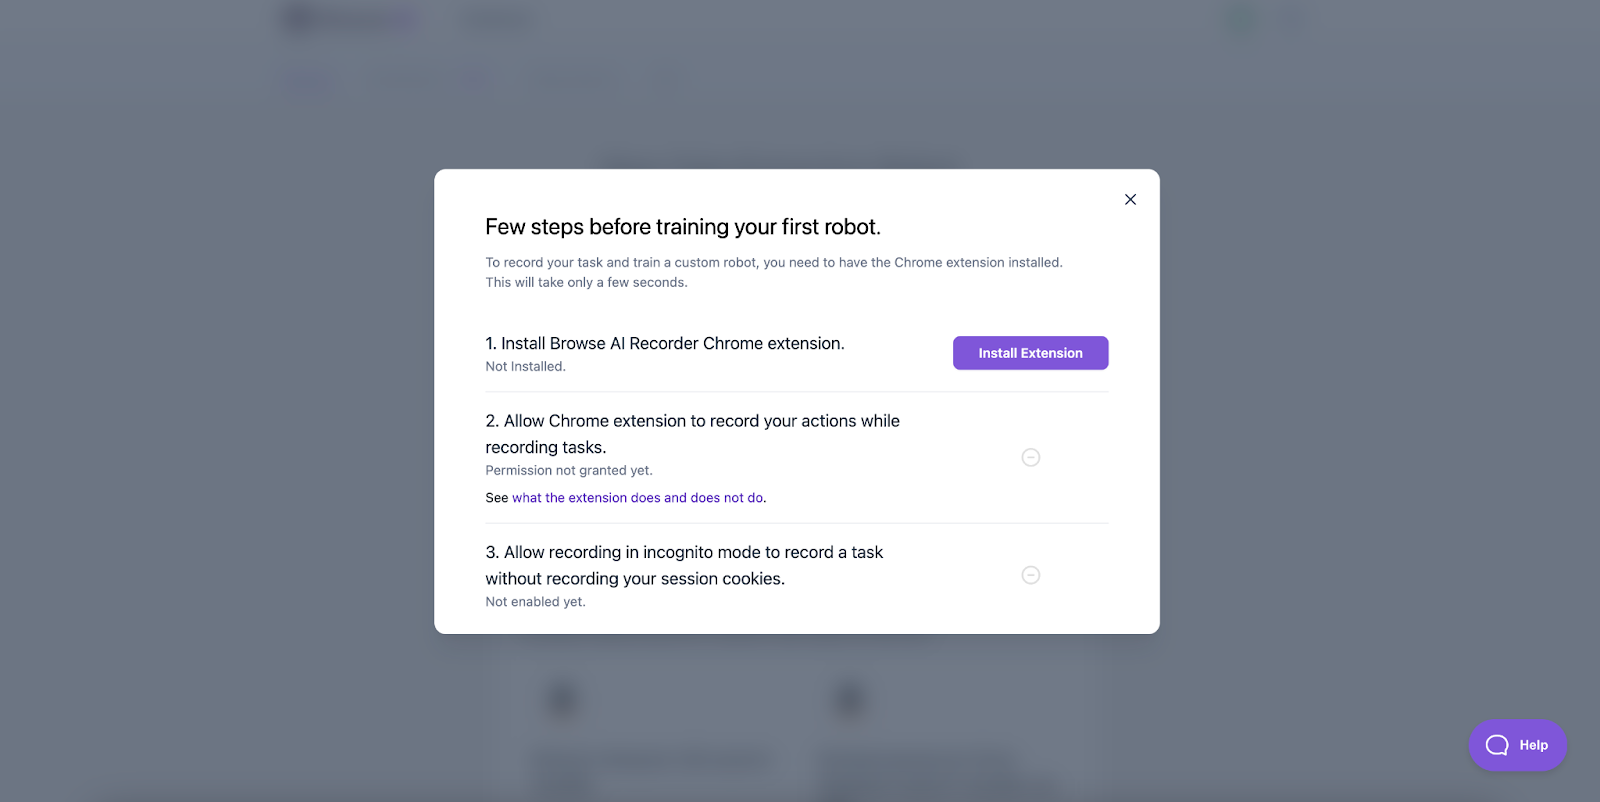
Step 2: Install the Google Chrome extension
When you click “Start Training Robot”, you’ll see the option to directly install the Browse AI Chrome extension. Simply follow the prompts and choose your preferred settings.
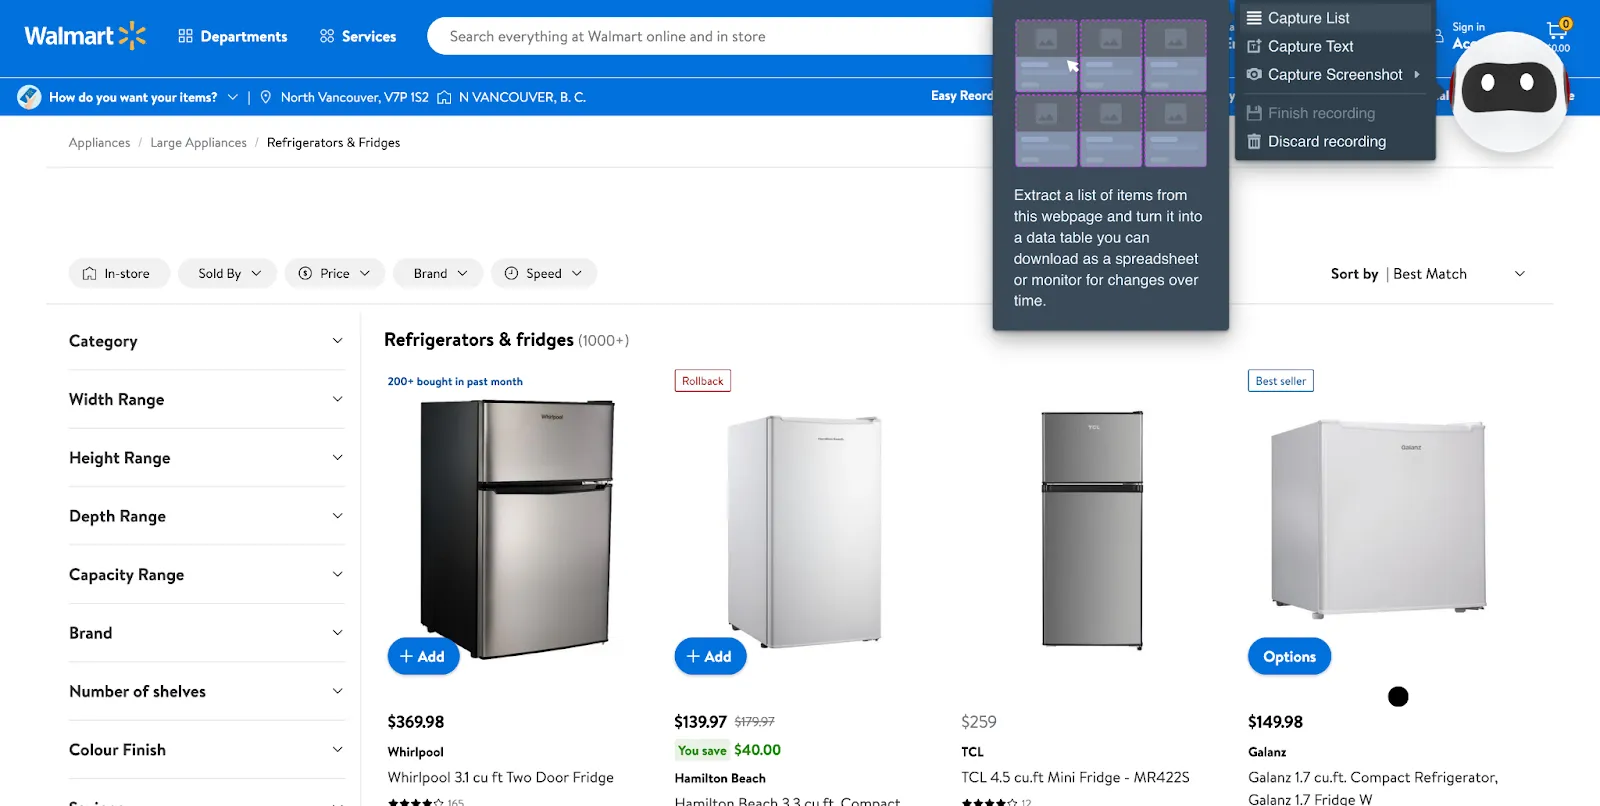
Step 3: Train Your Robot
Click on your robot to see the menu and options. Select the type of data you want to capture (list, text, or screenshot). Point and click on the items you would like your robot to extract, then name them accordingly.
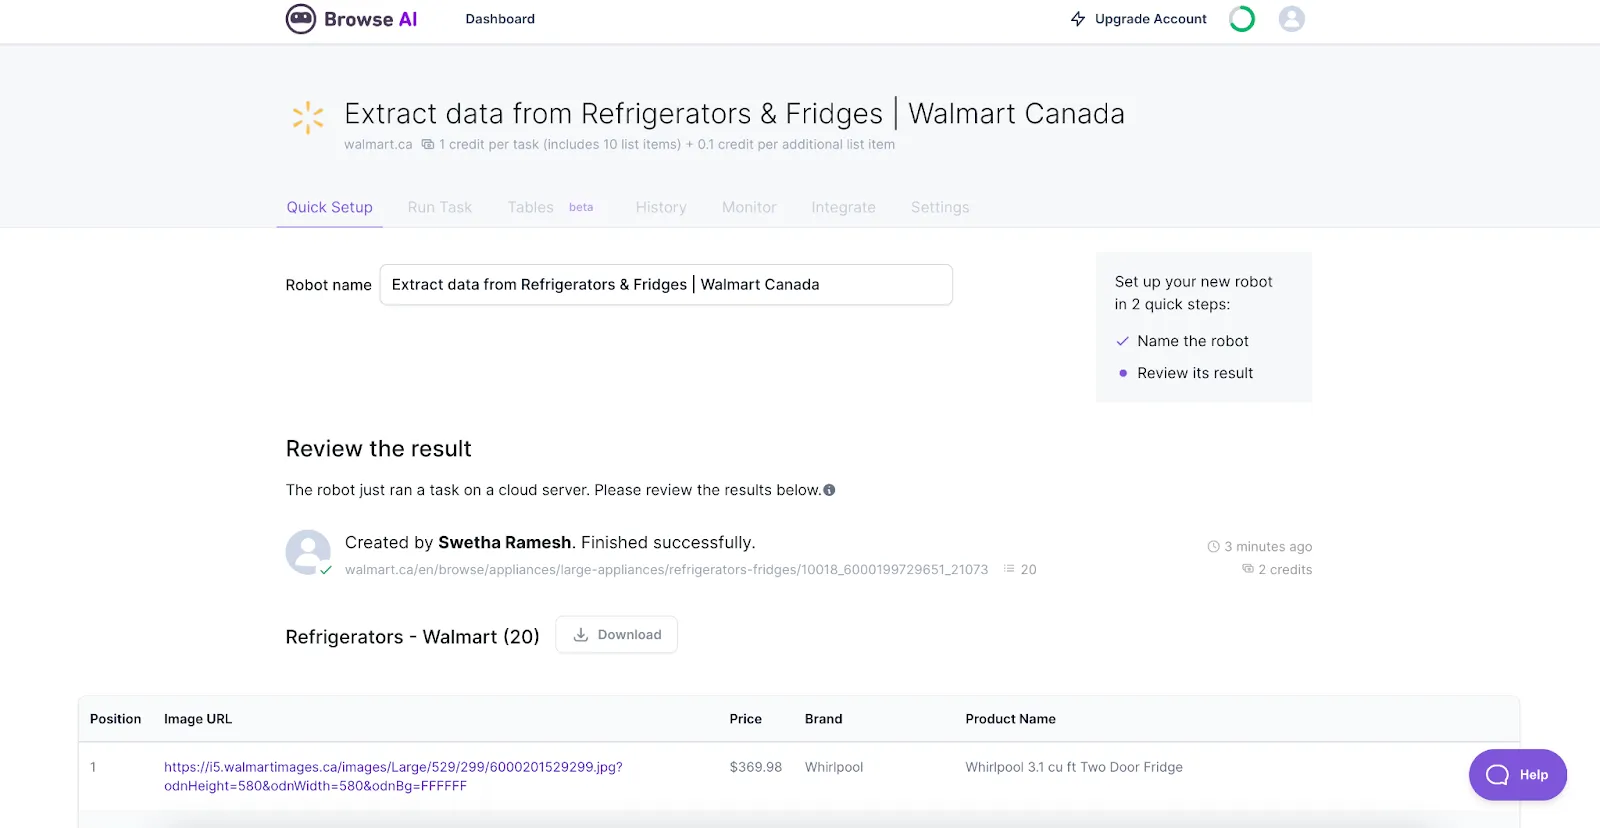
Step 4: Review the Captured List
Name your captured list, verify that the items captured are accurate, select how many rows of products you want your robot to load and extract.

Step 5: Review Extracted Data
Take a look at the final output, and once you’re satisfied with it, confirm with “Yes, looks good” at the bottom of the task. If you want to change something, you can also choose to retrain the robot.
Step 6: Set Up the Monitor
From your task navigation, choose “Monitor”, and then define your ideal values for different parameters, including run frequency, time, number of items to monitor, and the monitor name. From here, you can also get directly notified to your email as soon as a change crops up. Plus, you have the flexibility to edit, pause, or delete your monitor whenever you like.
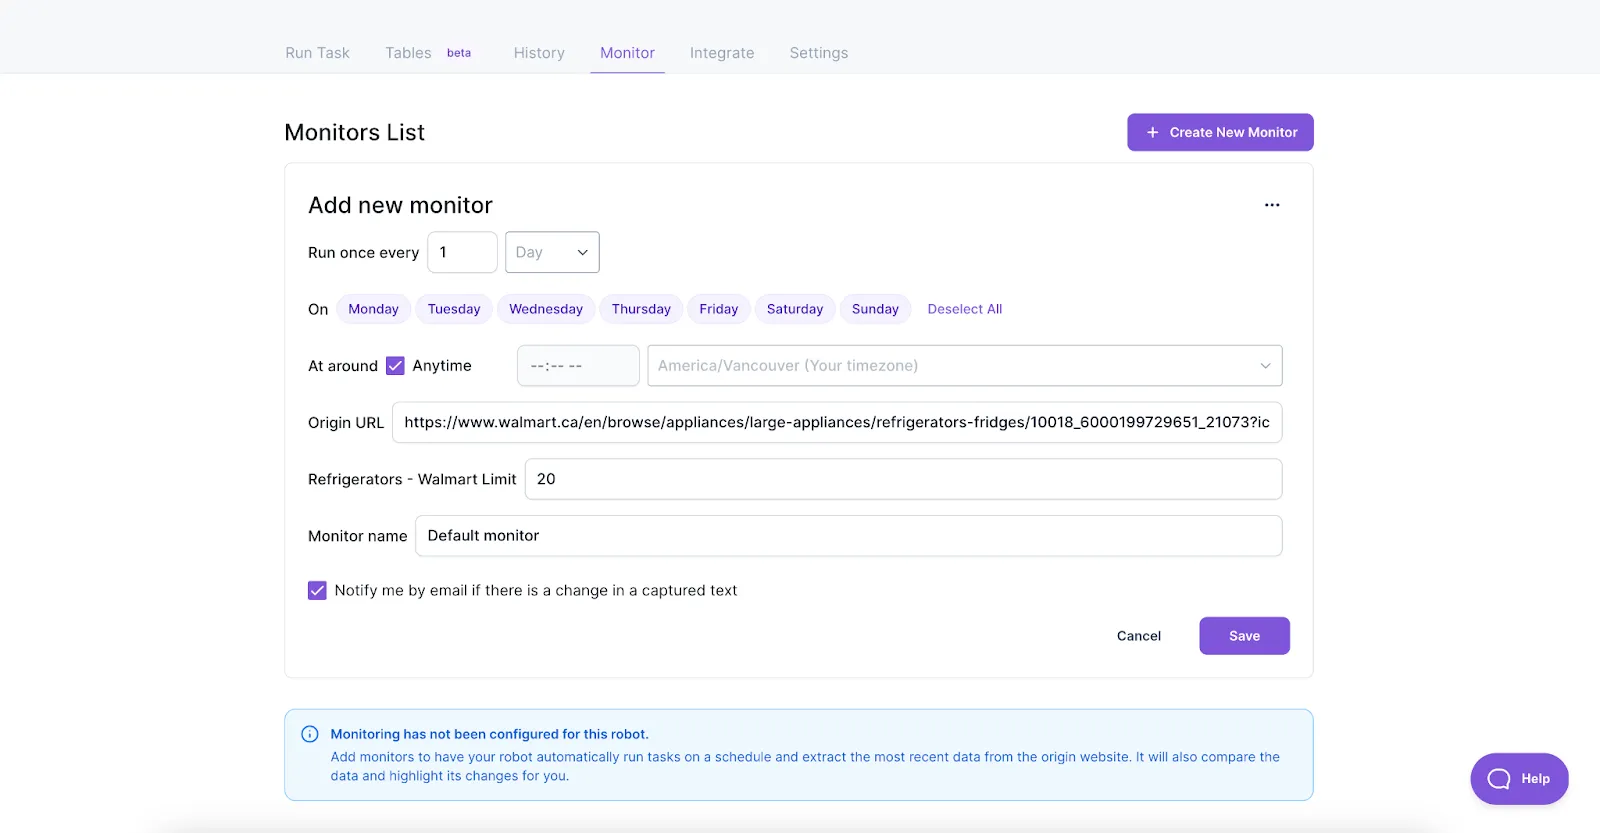
And voila! You have your very own robot and monitor that you can customize to extract product prices and any other information from Walmart.
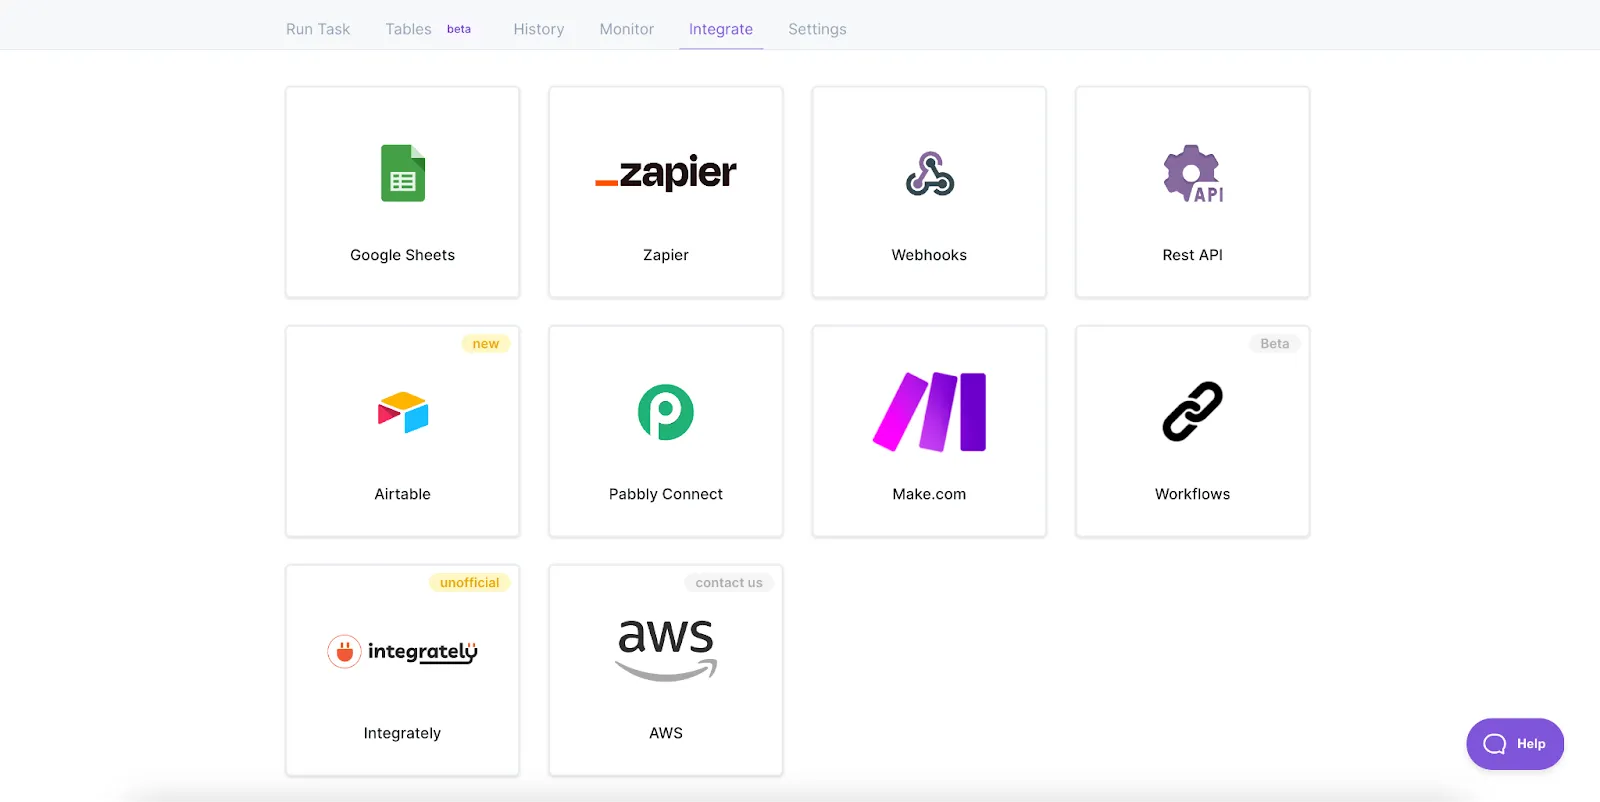
Plus, you also have the option to transfer the data into Google Sheets, Zapier, Airtable, or any of the other integrations available on Browse AI.
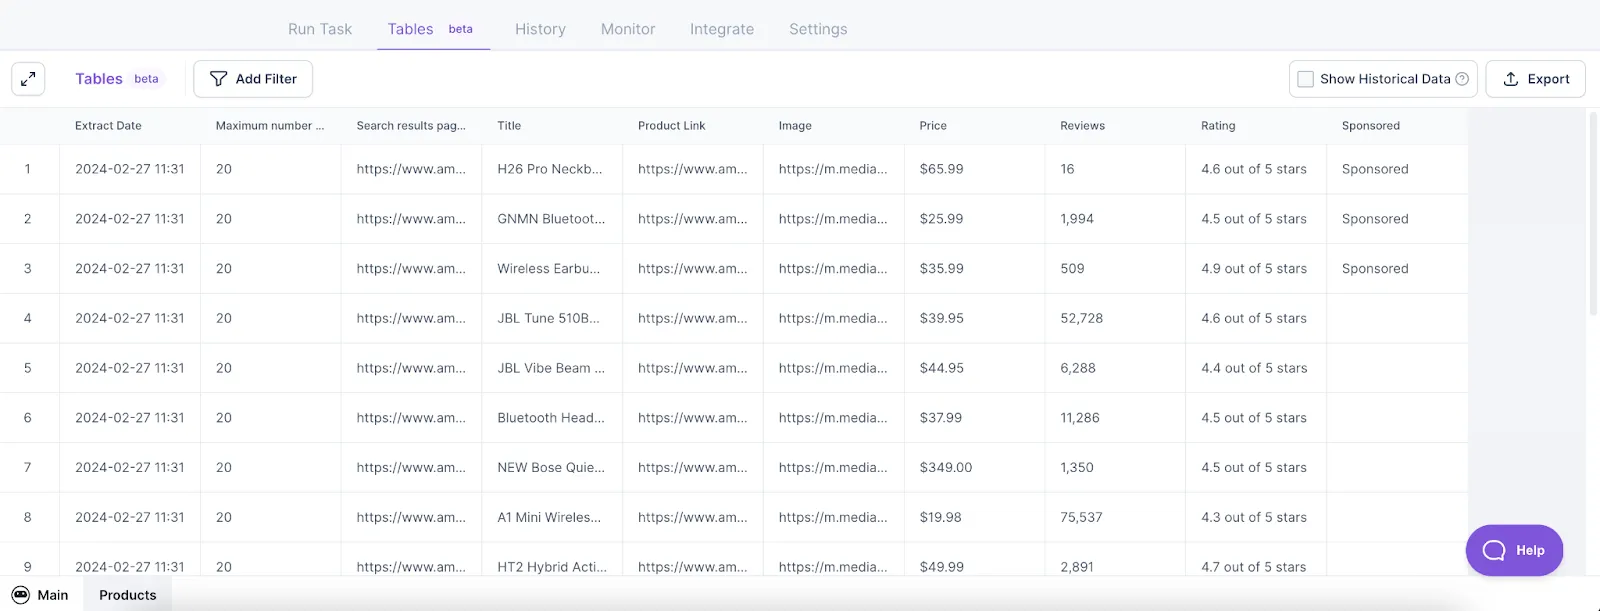
In case you don’t want to go through the extra step, you can extract the data right into Tables on your Browse AI dashboard, where you can see your robot’s activity clearly laid out, or filter and export the data as you please.
And to go even further, you can link two or more robots to scrape multiple pages and create unique workflows, or scrape up to 50,000 Amazon pages with the Bulk Run feature.
And there you have it - the easiest way to extract and track pricing details and more from Walmart without coding. Whether you want to bag the best bargains or a retailer trying to offer the most competitive prices, Browse AI is made for you. To learn more about how Browse AI can help you achieve peak productivity and unlock valuable insights, check out our help center or video tutorials. Happy deal hunting!


